AI rig from scratch II: OS, drivers and stress testing
AI rig from scratch II: OS, drivers and stress testing
Introduction: Bringing the beast to life
In the first part of this series, we carefully selected our components and assembled the hardware for my new AI rig. Now, with the physical build complete, it’s time for the crucial next phase: installing the operating system, ensuring all components are correctly recognized, setting up the necessary drivers, and most importantly, verifying that our cooling system can handle intense AI workloads.
Let’s get this machine ready to crunch some numbers!
Step 1: Operating system and initial BIOS configuration
Choosing an OS for a headless AI server is a key decision. I chose Ubuntu Server for several reasons: it’s stable, has extensive community support, and is widely used in the AI/ML world. Its command-line interface is perfect for a server that will be accessed remotely.
To start, I downloaded the latest ISO from the official website and used their step-by-step tutorial to create a bootable USB drive.
With the USB stick ready, I connected it to the rig along with a monitor, keyboard, and an Ethernet cable, and hit the power button for the first time. The installation process was straightforward. I mostly followed the defaults, with a few key selections:
- I attempted to install third-party drivers, but none were found at this stage.
- I included Docker and OpenSSH in the initial setup, as I knew I would need them later.
Once the installation finished, I removed the USB drive and rebooted. The system came alive with a fresh OS. The first commands are always the same:
sudo apt update && sudo apt upgrade
Before diving deeper into the software, I rebooted and pressed the DEL key to enter the BIOS. There were two critical settings to adjust:
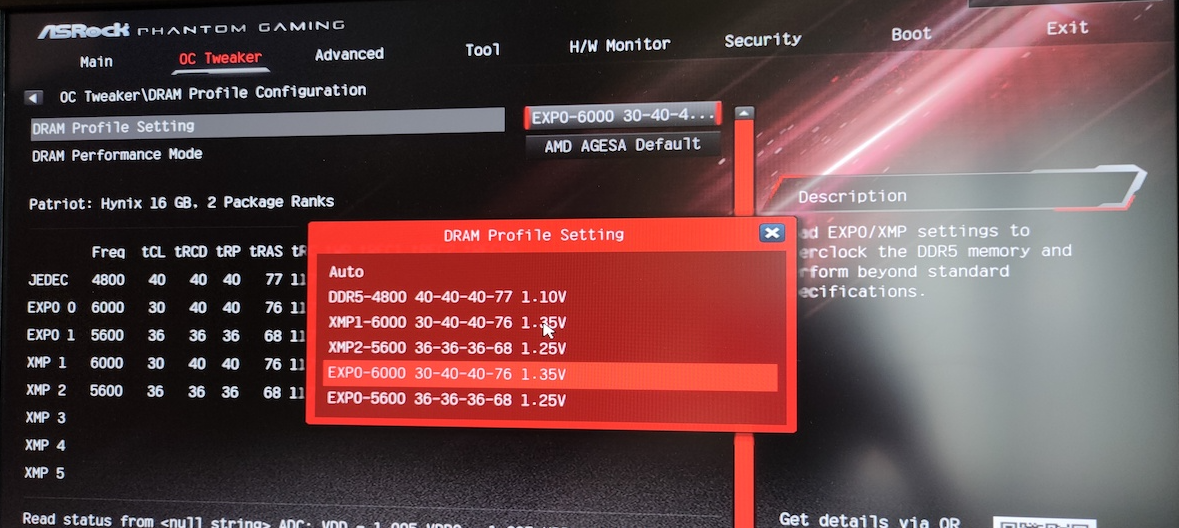
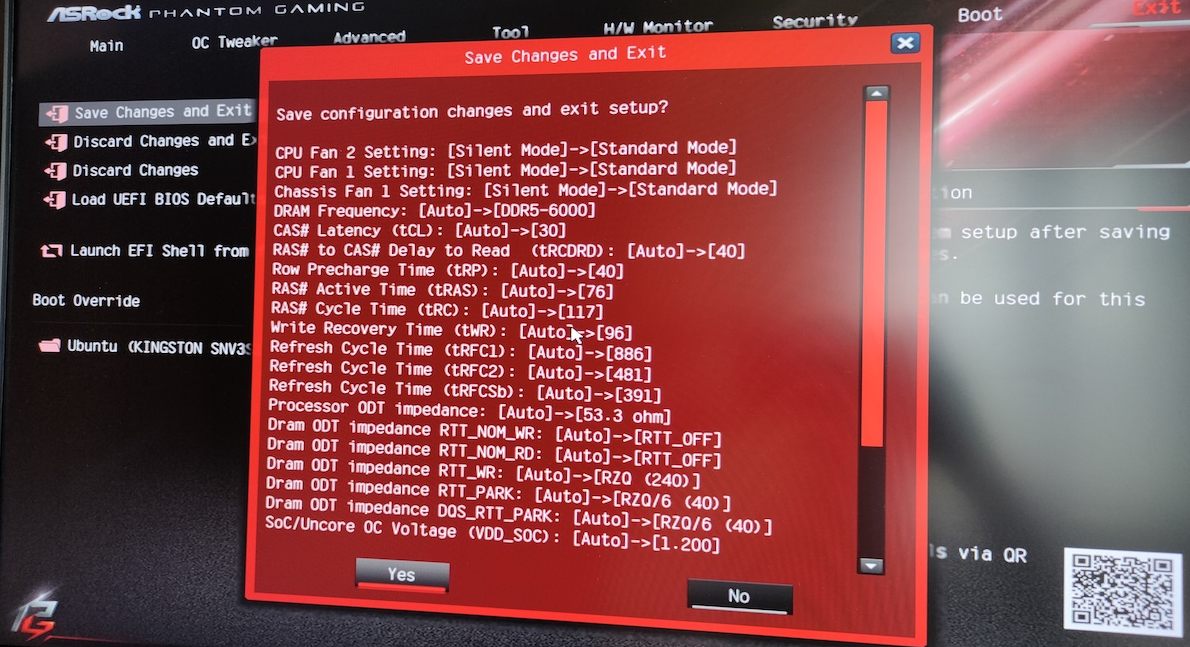
RAM profile: I enabled the AMD EXPO I profile to ensure my Patriot Viper Venom RAM was running at its rated speed of 6000MHz.
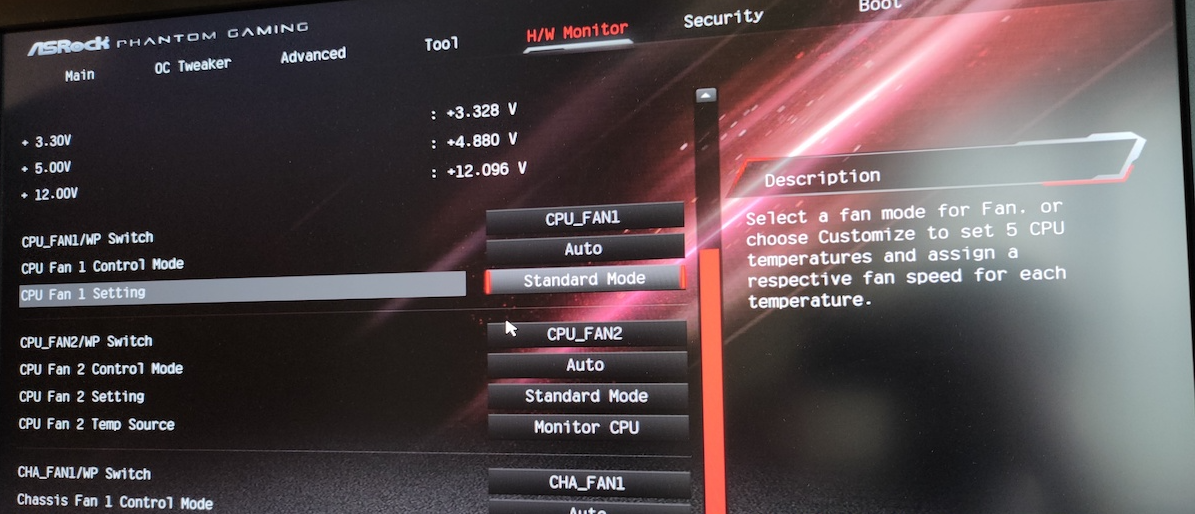
Fan curve: I switched the fan settings from “Silent” to “Standard” to prioritize cooling over absolute silence, which is a sensible trade-off for a high-performance machine.
After saving the changes and exiting the BIOS, the foundational setup was complete.
Step 2: Establishing connectivity (Wi-Fi and remote access)
My plan is to place the rig in a convenient spot, which means I’ll be relying on Wi-Fi instead of an Ethernet cable. On a server, setting up Wi-Fi requires a few manual steps.
First, I confirmed the Wi-Fi driver was loaded correctly by the kernel.
# First, ensure core network tools are present
sudo apt install wireless-tools

# Check for a wireless interface (e.g., wlan0 or, in my case, wl...)
ip link
lspci -nnk | grep -iA3 network
dmesg | grep -i wifi
The output confirmed the mt7921e driver for my motherboard’s Wi-Fi chip
was active. With the driver in place, I just needed to connect to my network
using network-manager.
# Install network-manager
sudo apt install network-manager

# Scan for available networks
nmcli device wifi list

# Connect to my home network (replace with your SSID and password)
nmcli device wifi connect "Your_SSID" password "your_password"

# Test the connection
ping -c 4 google.com

# Set the connection to start automatically on boot
nmcli connection modify "Your_SSID" connection.autoconnect yes
With the rig now on my local network, I enabled SSH to allow remote connections.
sudo systemctl enable ssh
sudo systemctl start ssh
Now I could disconnect the monitor and keyboard and access the rig from my laptop! To take remote access a step further, I installed Tailscale, a fantastic tool that creates a secure private network (a VPN) between your devices. After signing up and following the simple instructions to add my rig and laptop, I could SSH into my machine from anywhere, not just my local network.
Step 3: Verifying hardware and thermals
With the OS running, it was time to confirm that all our expensive components were recognized and running correctly. The BIOS gives a good overview, but we can double-check from the command line.
# Check CPU info
lscpu

# Check RAM size
free -h

# List all PCI devices (including the GPU)
lspci -v
Everything looked good. Next, I checked the component temperatures at idle
using lm-sensors.
sudo apt install lm-sensors
sensors
This revealed an issue. While most temps were fine, one of the SSD sensors was running hot.
Initial idle temps (before adding extra fan):
amdgpu-pci-0d00
Adapter: PCI adapter
vddgfx:      719.00 mV
vddnb:         1.01 V
edge:         +48.0°C
PPT:          20.10 W

nvme-pci-0200
Adapter: PCI adapter
Composite:    +51.9°C  (low  = -273.1°C, high = +74.8°C) (crit = +79.8°C)
Sensor 1:     +70.8°C  (low  = -273.1°C, high = +65261.8°C)  <-- This is too high for idle!
Sensor 2:     +51.9°C  (low  = -273.1°C, high = +65261.8°C)
Sensor 3:     +51.9°C  (low  = -273.1°C, high = +65261.8°C)

mt7921_phy0-pci-0800
Adapter: PCI adapter
temp1:        +44.0°C

k10temp-pci-00c3
Adapter: PCI adapter
Tctl:         +50.4°C
Tccd1:        +42.4°C
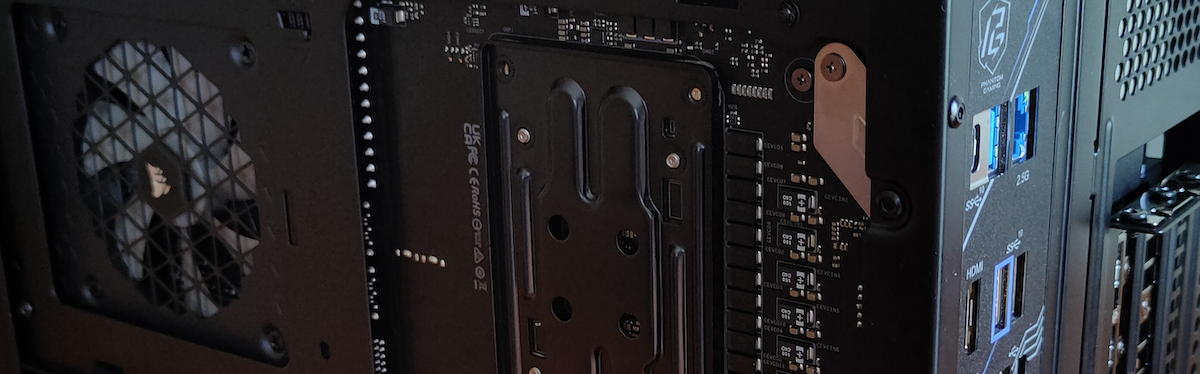
This is why we test! As mentioned in part I, I installed an extra Arctic P12 Slim fan at the bottom of the case to improve airflow over the motherboard. The results were immediate and significant.
nvme-pci-0200
Adapter: PCI adapter
Composite:    +41.9°C  (low  = -273.1°C, high = +74.8°C) (crit = +79.8°C)
Sensor 1:     +60.9°C  (low  = -273.1°C, high = +65261.8°C)
Sensor 2:     +53.9°C  (low  = -273.1°C, high = +65261.8°C)
Sensor 3:     +41.9°C  (low  = -273.1°C, high = +65261.8°C)
Problem solved. The extra 10€ fan was well worth it for the peace of mind.
Step 4: Installing the NVIDIA driver
The most critical driver for an AI rig is the NVIDIA driver. I used the
ppa:graphics-drivers/ppa repository to get the latest versions.
sudo add-apt-repository ppa:graphics-drivers/ppa
ubuntu-drivers devices

== /sys/devices/pci0000:00/0000:00:01.1/0000:01:00.0 ==
modalias : pci:v000010DEd00002D04sv00001043sd00008A11bc03sc00i00
vendor   : NVIDIA Corporation
driver   : nvidia-driver-570 - third-party non-free recommended
driver   : nvidia-driver-570-open - third-party non-free
driver   : xserver-xorg-video-nouveau - distro free builtin
The tool recommended the proprietary driver, but I found that the open-source
kernel module version (-open) was the one that worked for my setup.
To install it and prevent conflicts with the default nouveau driver,
I ran the following:
# Install the open-source variant of the driver
sudo apt install nvidia-driver-570-open

# Blacklist the default nouveau driver
sudo bash -c 'echo -e "blacklist nouveau\noptions nouveau modeset=0" > /etc/modprobe.d/blacklist-nouveau.conf'

# Update the initial RAM file system and reboot
sudo update-initramfs -u
sudo reboot
After the reboot, running nvidia-smi confirmed the driver was loaded
and the GPU was ready!
Step 5: Putting the rig to the test (stress testing)
With everything installed, it was time for the moment of truth. Can the system
remain stable and cool under heavy, sustained load? I conducted three separate
stress tests, monitoring temperatures in a separate SSH window using
watch sensors and watch nvidia-smi.
CPU stress test
First, I used stress-ng to max out all 8 CPU cores for 5 minutes.
sudo apt install stress-ng
stress-ng --cpu 8 --timeout 300s
Result: The CPU temperature peaked at 73.4°C. This is a great result, showing the AIO cooler is more than capable of handling the Ryzen 7 7700 at full tilt.
k10temp-pci-00c3
Adapter: PCI adapter
Tctl:        +73.4°C
SSD stress test
Next, I used fio to simulate a heavy random write workload on the NVMe SSD
for 1 minute.
sudo apt install fio
fio --name=nvme_stress_test --ioengine=libaio --rw=randwrite --bs=4k --size=1G --numjobs=4 --time_based --runtime=60 --group_reporting
Result: The notorious “Sensor 1” heated up to 89.8°C. While high,
this is a worst-case scenario, and the drive’s critical temperature is even higher.
The overall Composite temperature remained at a healthy 56.9°C. For my
use case, this is perfectly acceptable.
nvme-pci-0200
Adapter: PCI adapter
Composite:   +56.9°C  (crit = +79.8°C)
Sensor 1:    +89.8°C
GPU stress test
Finally, the main event. I used gpu-burn inside a Docker container to push the RTX 5060 Ti to its absolute limit. First, I had to set up the NVIDIA Container Toolkit.
# Setup the NVIDIA Container Toolkit
distribution=ubuntu22.04 # Workaround for 24.04
curl -s -L [https://nvidia.github.io/nvidia-docker/gpgkey](https://nvidia.github.io/nvidia-docker/gpgkey) | sudo apt-key add -
curl -s -L [https://nvidia.github.io/nvidia-docker/$distribution/nvidia-docker.list](https://nvidia.github.io/nvidia-docker/$distribution/nvidia-docker.list) | sudo tee /etc/apt/sources.list.d/nvidia-docker.list
sudo apt update
sudo apt install -y nvidia-docker2
sudo systemctl restart docker
With Docker ready, I cloned the gpu-burn repository and ran the test.
git clone https://github.com/wilicc/gpu-burn
cd gpu-burn
docker build -t gpu_burn .
docker run --rm --gpus all gpu_burn
Result: Success! The GPU temperature steadily climbed but stabilized at a maximum of 72°C while running at 100% load, processing nearly 5000 Gflop/s. The test completed with zero errors.
100.0%  proc'd: 260 (4880 Gflop/s)   errors: 0   temps: 72 C
...
Tested 1 GPUs:
  GPU 0: OK
Conclusion: We are ready for AI!
The rig is alive, stable, and cool. We’ve successfully installed and configured the operating system, established remote connectivity, verified all our hardware, and pushed every core component to its limit to ensure it can handle the heat.
The system passed all tests with flying colors, proving that our component choices and cooling setup were effective. Now that we have a solid and reliable foundation, the real fun can begin. In the next post, we’ll finally start using this machine for its intended purpose: running and training AI models. Stay tuned!